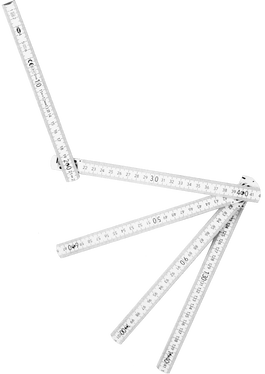
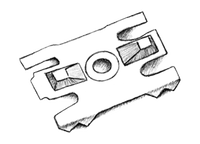
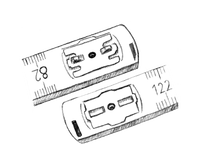
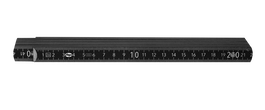
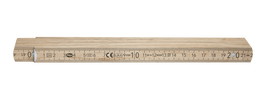
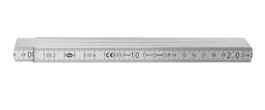
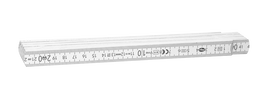
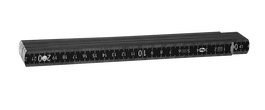
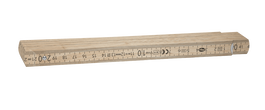
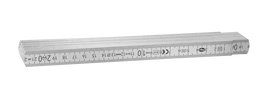
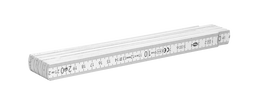
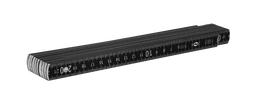
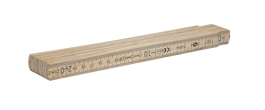
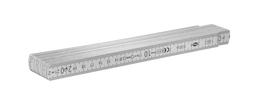
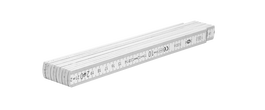
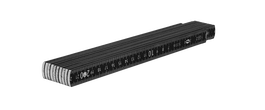
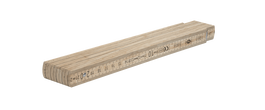
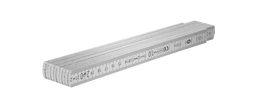
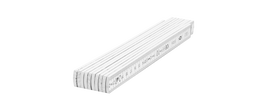
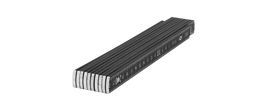
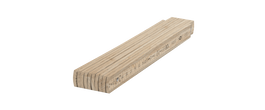
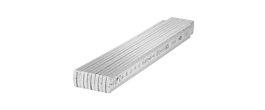
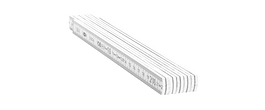
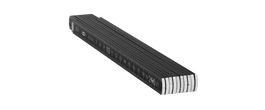
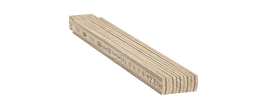
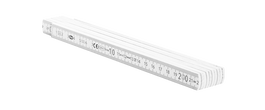
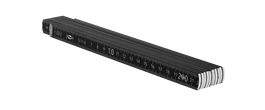
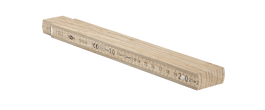
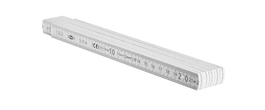
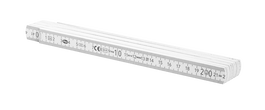
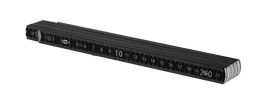
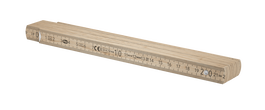
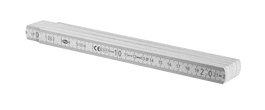
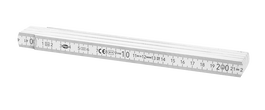
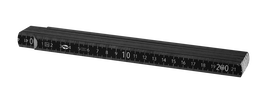
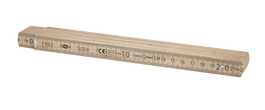
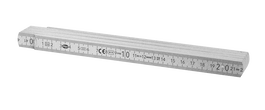
The quality measuring stick has precision springs made from hardened steel. This ensures a wear-free and durable suspension. The joint always remains smooth-running and lockable.
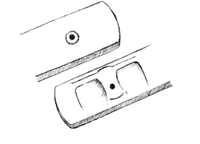
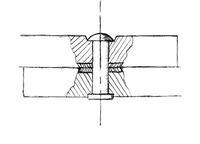
It is ideally suited for height measurements due to the low bowing of the sturdy joints and the low weight of the precision springs. The rivet head (pivot) of the solid rivet turns on a plastic disc. Therefore, the joint connection with the hardened spring is designed for continuous load.
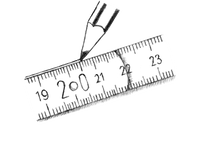
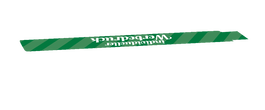
The measuring stick sections have no notches on the side, therefore it is possible to draw a straight marking line. The tight fitting sections allow for a delicate advertising print on the high-sided areas.
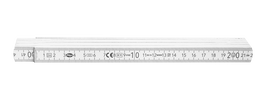
- Measuring stick 2 m
- 10 sections
- Joints with internal hardened steel springs
- Sections approx. 3.4 x 16 mm
- 100 pieces approx. 10.9 kg gross.
Product properties

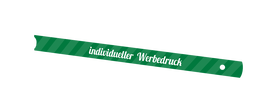
Design template for the starting section
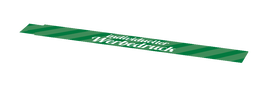
Download 75.1 KBDesign template for the side face
Download 44.1 KBOptional special features
90°-arrester
Internal steel spring latches and joint plates with snapping segments to lock in angled and folded-out positions.
Starting section print
Subtle yet unmissable: Using your ideas, we design the initial sections with your logo or advertising message.
Decimeterscale
The coloured/grey decimeterscale is used as a visual measuring aid in order to allow quick reading from a greater distance.
Sideface print
We print even small texts precisely on the individual sections for you.
Bricklaying scale
The bricklaying scale enables an easier organisation of the wall space for the bricklayer.
Multicoloured section sequence
The multi-colour section sequence allows individual combinations of the 4 measuring stick base colours.
Metric/inch graduation
On the front side, you can find our established standard graduation (duplex graduation) and on the back the parallel metric/inch graduation.
Plain-scale
The plain-scale on the first 3 sections on the inside allows you to place the measuring stick "flatly" on the measuring surface.
Special markings
Special markings are helpful in order to highlight special measuring areas. Also available in colour.
Perimeter scale
The perimeter scale allows direct reading of the circumference when measuring the diameter.
Angle graduation scale
Measurements from 10° to 150° are possible with the angle graduation scale.
Angle overview
As per standard, the angle overview is located on the inside of the first section. It allows quick reading.
